Inventables, the maker of my X-Carve Pro, recently released a new feature for Easel which easily allows people to cut out 3D objects by importing .STL files. I couldn't resist when this new feature came out so I went and found the first .STL file that came to mind: a topographic map of Indiana. Now Indiana might be the worst state to cut out a topographic map of, but I also figured it'd be an easy first test for their software.
I didn't really have any wood that I felt would be a good fit for this carve (I mostly stock plywood in my garage) so I headed down to Rockler to pick up some walnut. Last time I was there I noticed they had a sale on some Peruvian walnut. I, like many people these days, am extremely partial to black walnut but the price is often prohibitive especially when I still feel relatively uneasy about my CNC skillset. It's one thing to destroy $15 worth of plywood, it's another thing to ruin a $100 board of walnut. To my surprise, the Peruvian walnut was discounted even further than the first time so I ended up with a 6' x 7" board for ~$40.
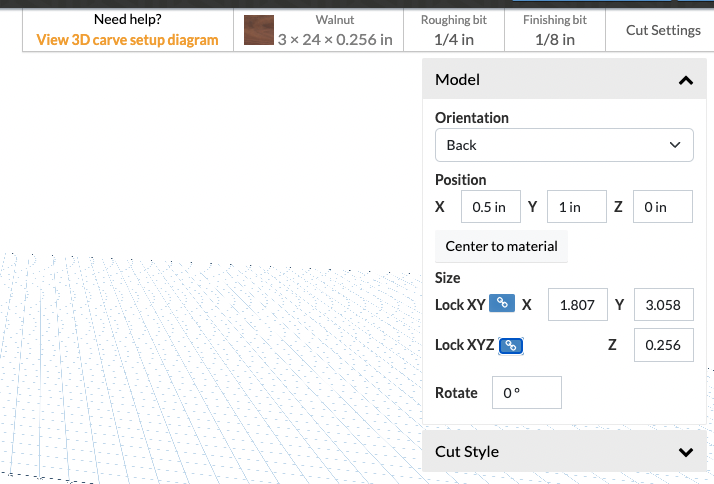
With my new found walnut, I headed back home to give my first 3D carve a try. Importing the files into Easel was super straight forward. The only thing I struggled with was figuring out how to get the render to display from above instead of below. I'm embarrassed to admit that after nearly 4 months of using Easel, I just realized the way to do this was by left clicking the mouse. The .STL file I found was WAYYYY too big so I had to scale it down to fit my board. Easel actually makes scaling 3D objects super easy as well. I wanted to maintain the X,Y,Z ratio so I locked all of the axis to maintain the proper ratio.

The next thing I realized is that Easel is pretty specific about the bits you can use for roughing and finishing. I've since picked up both a 1/4" ball nose bit as well as an 1/8" ball nose bit. Now that everything was set, I was off to the races. My first cut went shockingly well. I ended up using a 1/4" ball nose bit for my finishing as it was all they had at Rockler, but it still did a pretty decent job cutting out the (limited) topography of Indiana. My only complaint was that it didn't end up cutting all the way through the stock (a common issue I tend to have) and it only allows for automatic tabs (foreshadowing for issues to come) vs. being able to dictate how many and where they get placed.

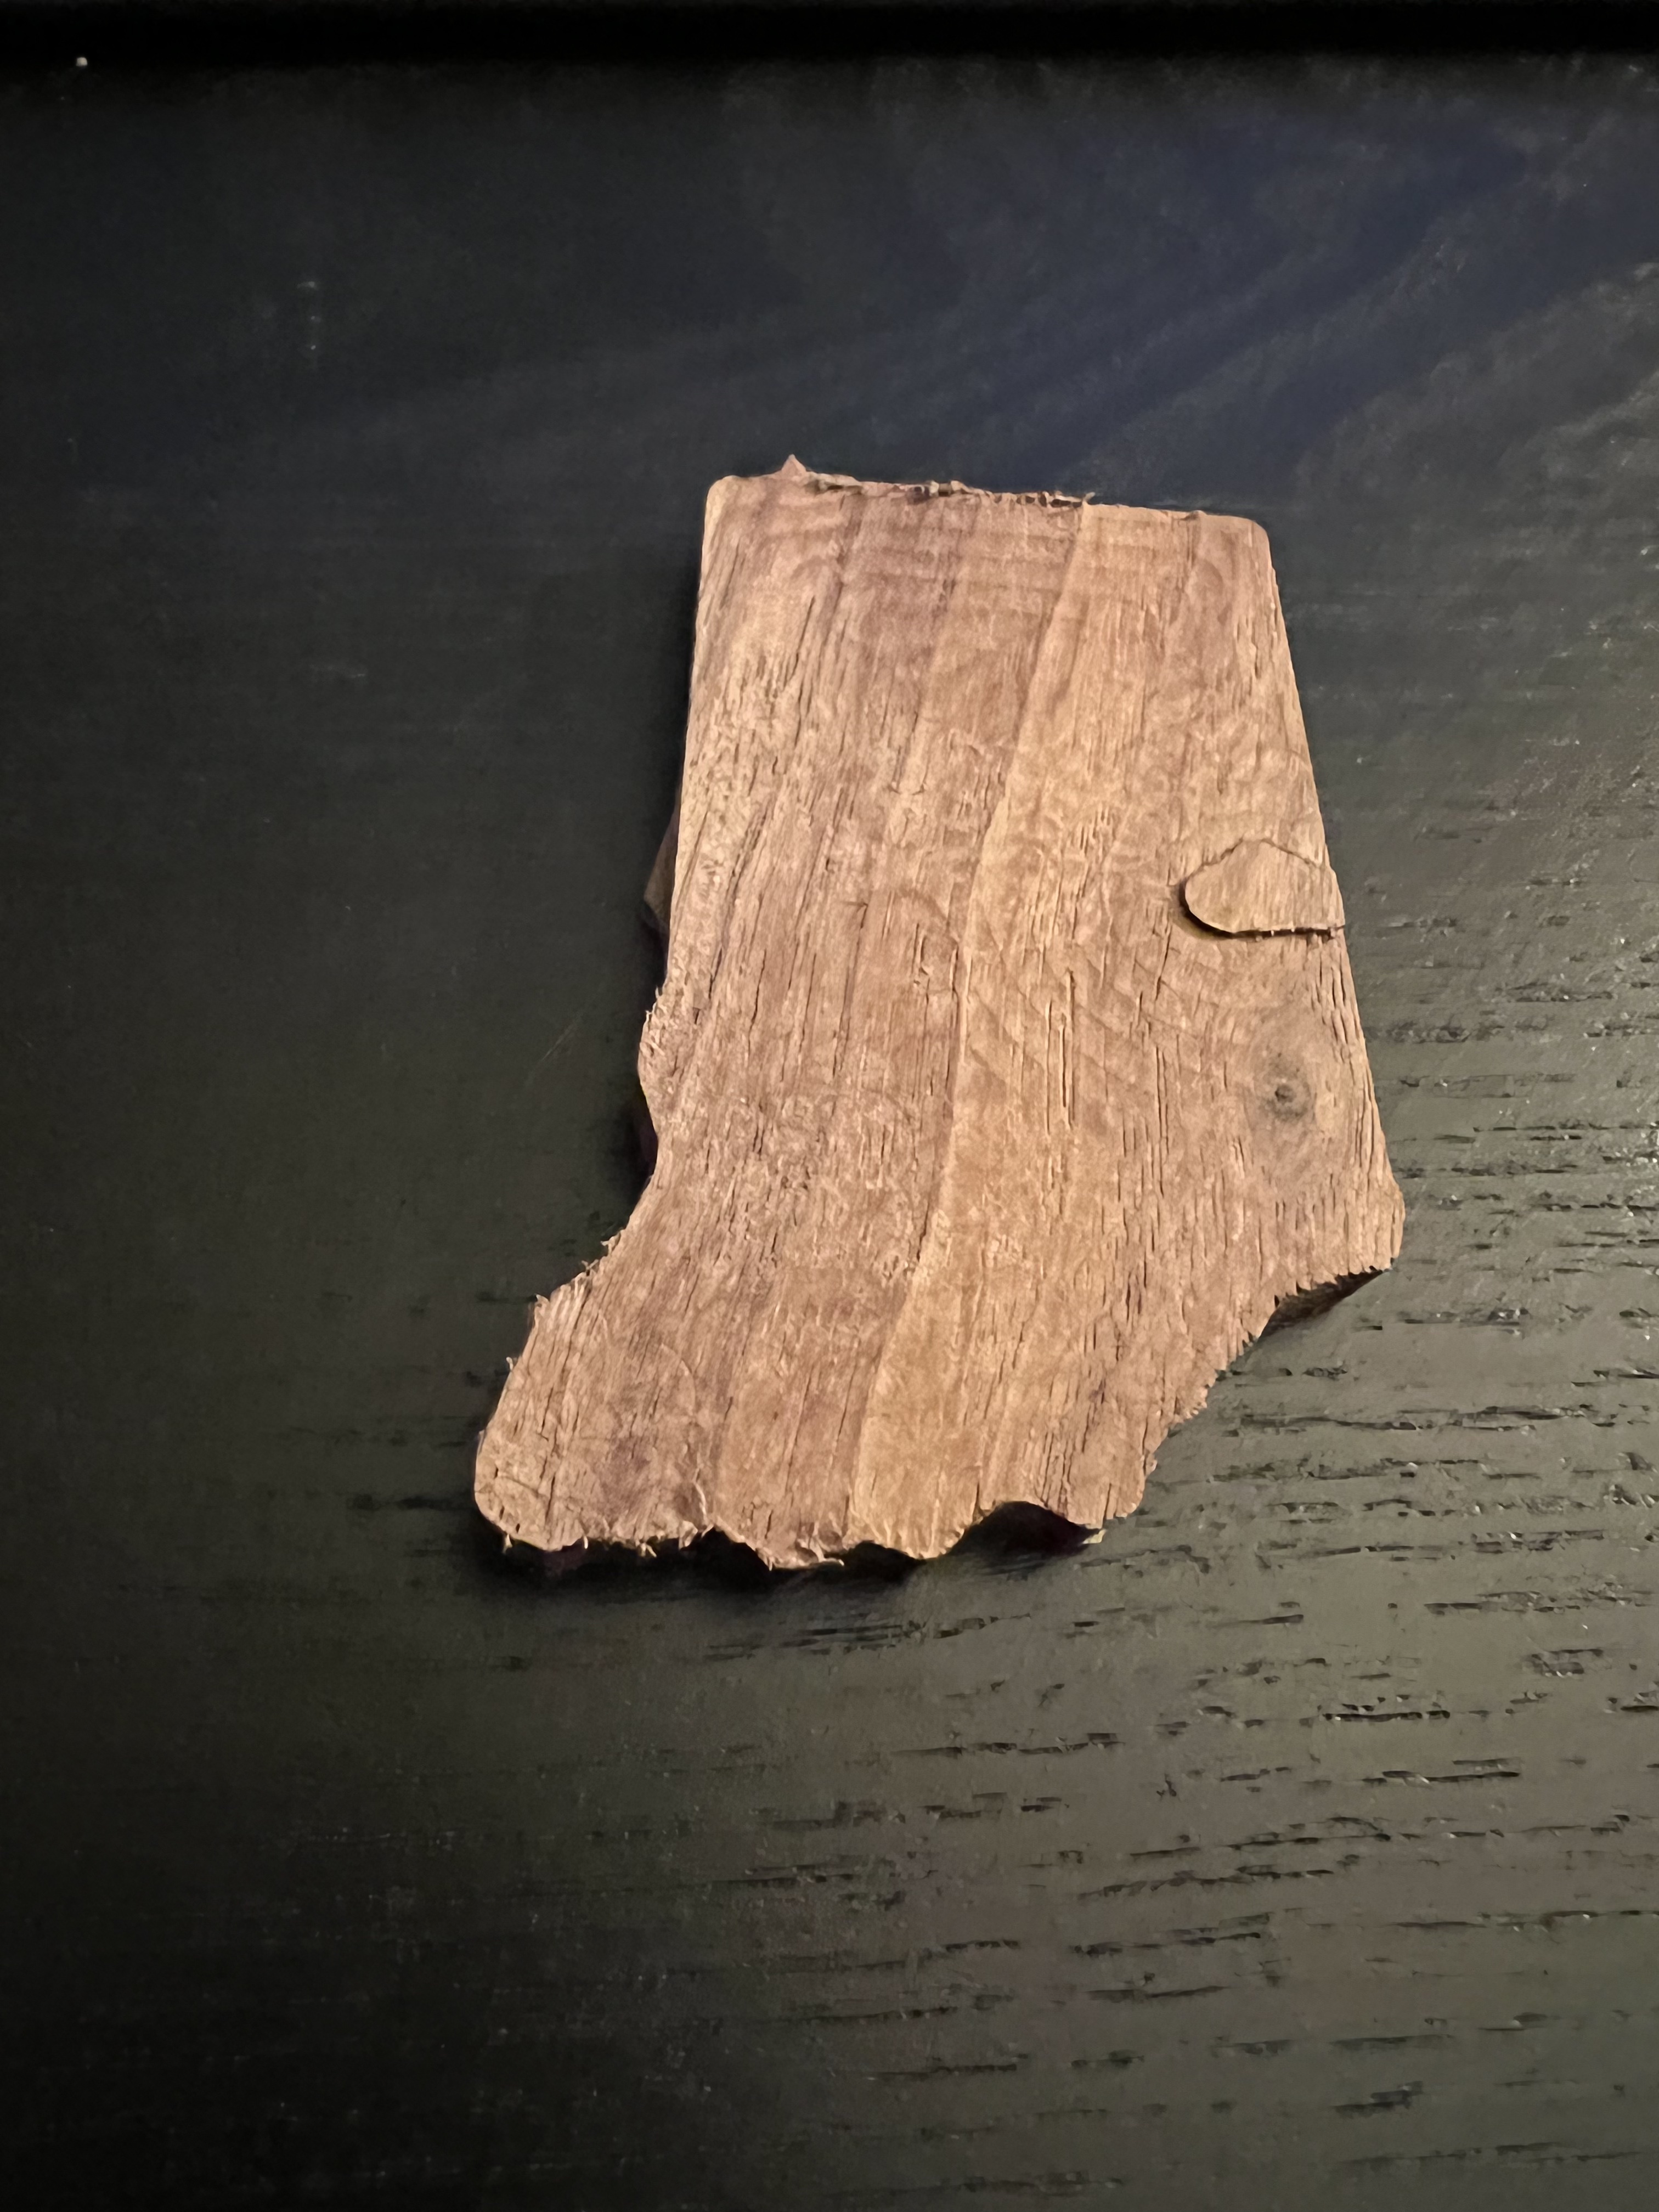
A big (6"x10") Indiana is cool, but I thought making smaller cutouts could be more useful for keychains or Christmas ornaments. This is when I started running into issues. It wasn't difficult at all to scale this down further and use some smaller walnut I had leftover from another project. However, the issues started almost immediately. I'd consider the first attempt at this to be somewhat of a disaster. The auto tab was definitely not sufficient for smaller cuts and within the first minute the bit had ripped the cutout from the stock. I did manage to pause my CNC and harvest the cutout as a remembrance of this early voyage.

It became evident that until Easel has some more advanced features, I'd continue struggling with smaller 3D cutouts. This meant I was headed back to Fusion 360. In my next article, I'll talk through how I was finally able to carve a mini3D cutout of Indiana using fusion 360!
.png)
